Address Plaque Installation Guide
Professional Installation Guide for Commercial Grade Address Plaques
Commercial Grade Investment
Our premium address plaques are perfect for enhancing the curb appeal of:
- ✓ Residential Homes
- ✓ Apartment Buildings
- ✓ Townhomes
- ✓ Commercial Properties
- ✓ Mailboxes


1. Drill

2. Leveler/Tape Measure

3. Epoxy (Optional)
Parts Included
- • Address Plaque with (2) Predrilled Holes
- • 3" Threaded Studs x 2 (for rear mount)
Tools Needed
- 1. Drill
- 2. Leveler/Tape Measure
- 3. Epoxy (Optional)
Installation Instructions
- Confirm the wall for the rear mounted (concealed studs) address plaque.
- Measure spacing in the rear of the address plaque from the left predrill hole to the right predrilled hole.
- Mark on the wall the distance measured with a small "x" on the left and another small "x" on the right.
- Drill (2) holes in the surface you've marked with the "x".
- Attach the studs into the rear of the predrilled holes in the plaque.
- Insert the threaded studs into the holes.
- Push until flush with surface. Optional: Apply preferred epoxy adhesive or grout to fill voids.
- Clean any dust from drilling and enjoy your custom crafted address plaque.
Warranty Information
- • Lifetime warranty on metal
- • Inspect upon receipt - use constitutes acceptance
- • Avoid acid or chemical wash - will compromise finish
- • Undiluted chlorine concentration negates warranty
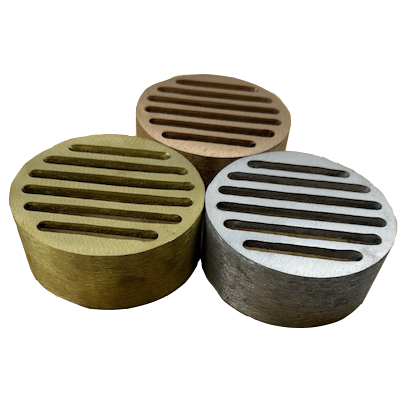
- • Address plaques are brass or aluminum, weather-resistant, and do not rust
Need Additional Help?
Search "Do-it-yourself address plaque install" for video resources
or contact a local handyman for professional installation
Visit www.themetalcastingstore.com for more information


